Importing from Keep It
Scrappy can import your Keep It library.
If you are using Keep It 2.7 or later the process can be performed automatically with the Transfer app. Otherwise follow the instructions in Importing from Keep It Manually instead.
Scrappy does not support mail messages or items with executable code, such as applications and plug-ins. These will be skipped and reported at the end.
Keep It and Scrappy are designed for very different purposes. See Comparing Keep It and Scrappy for more information.
Using the Transfer app
Download the Transfer app from here:

To import from Keep It:
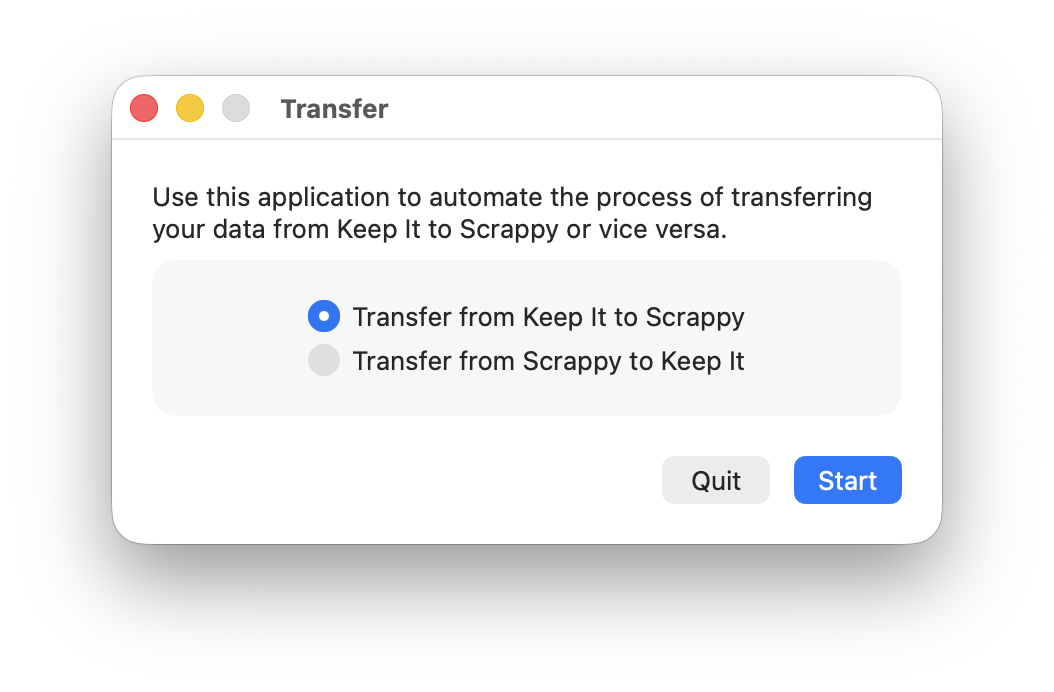
- Open the Transfer app
- Ensure Transfer from Keep It to Scrappy is selected
- Click Start
- When macOS prompts to allow Transfer to access data from other apps, choose to allow it
Keep It will start exporting your library. Once the export is completed, Scrappy will open and show a sheet that allows you to choose how the Keep It library is imported:
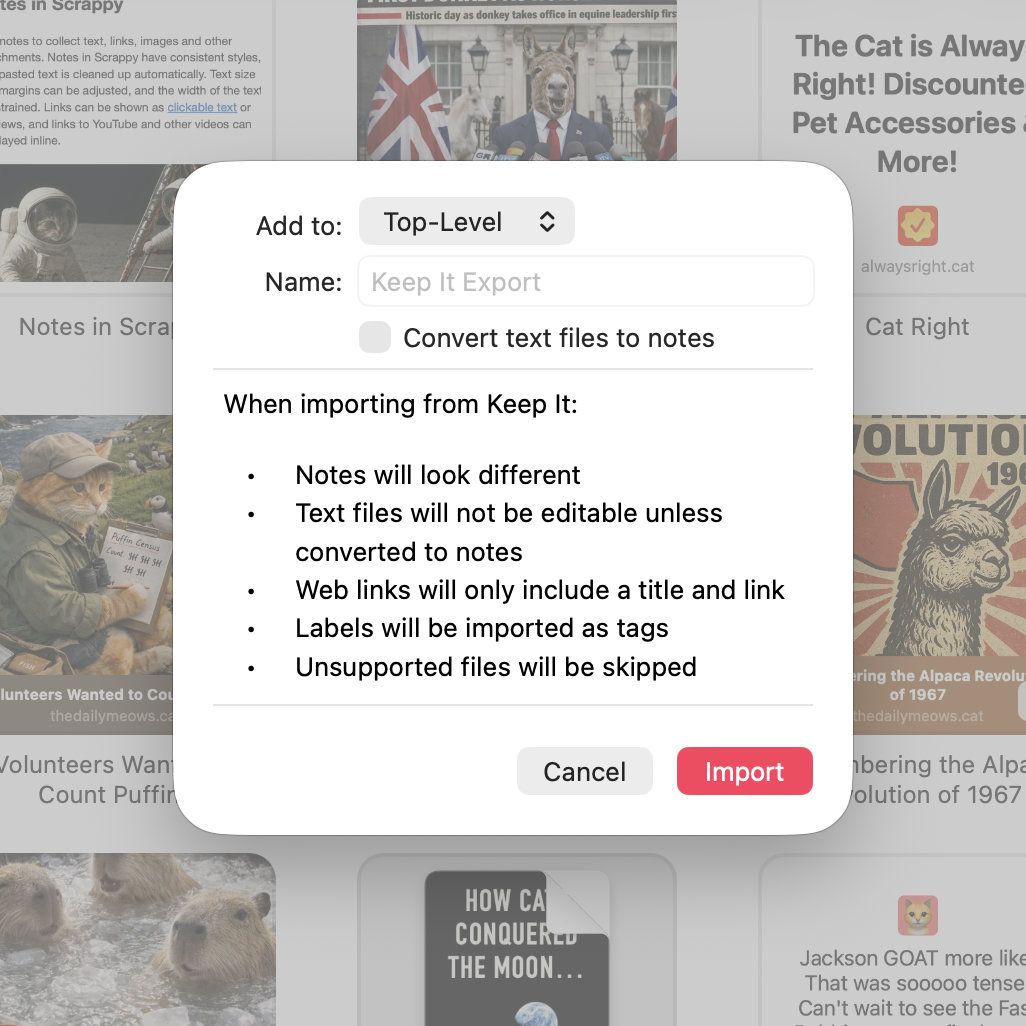
- Use the Add to pop-up to choose whether to add the imported files to the top-level, or a list with the name of your choice
- Select Convert text files to notes if you want rich and plain text files to become editable notes in Scrappy
- Click Import
Importing from Keep It Manually
First export your library from Keep It:
- Open Keep It
- Select All Items
- Choose File > Export All Files from the main menu
- If you have any encrypted items, click Continue to authenticate, or click Skip
- Select Include metadata — if you see a format pop-up next to the checkbox, choose Property List
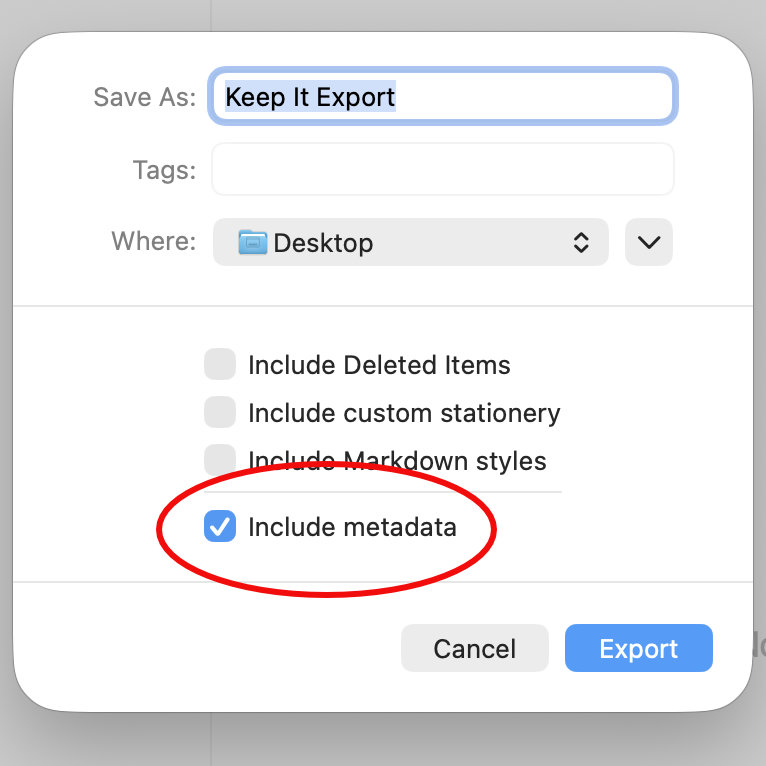
- Click Export
Keep It will start exporting the files. Once the export is completed:
- Open Scrappy
- Choose Scrappy > Library > Import Library from the main menu
- Choose the folder exported by Keep It
- Click Import
- Use the Add to pop-up to choose whether to add the imported files to the top-level, or a list with the name of your choice
- Select Convert text files to notes if you want rich and plain text files to become editable notes in Scrappy
- If Keep It exported any encrypted files, you can select Lock previously encrypted notes to convert these to locked notes (Scrappy can only lock notes; other kinds of files will be imported, but not locked)
- Click Import