Scrappy AppleScript Tips
Contents
- Terminology
- Getting Objects
- Creating, Moving and Renaming
- Adding Files
- Adding Links
- Adding Text and Attachments
- Exporting
Choose Help > AppleScript Tips from the main menu to see a guide on how to automate Scrappy with AppleScript.
Terminology
While Scrappy refers to things in the sidebar as “lists”, a list is a class in AppleScript, and so Scrappy’s scripting terminology uses “sidebar item” instead, and “Scrappy list” specifically for lists that you create. Similarly, “item” is a generic term in AppleScript, and so items in Scrappy are referred to as “Scrappy items” in AppleScript.
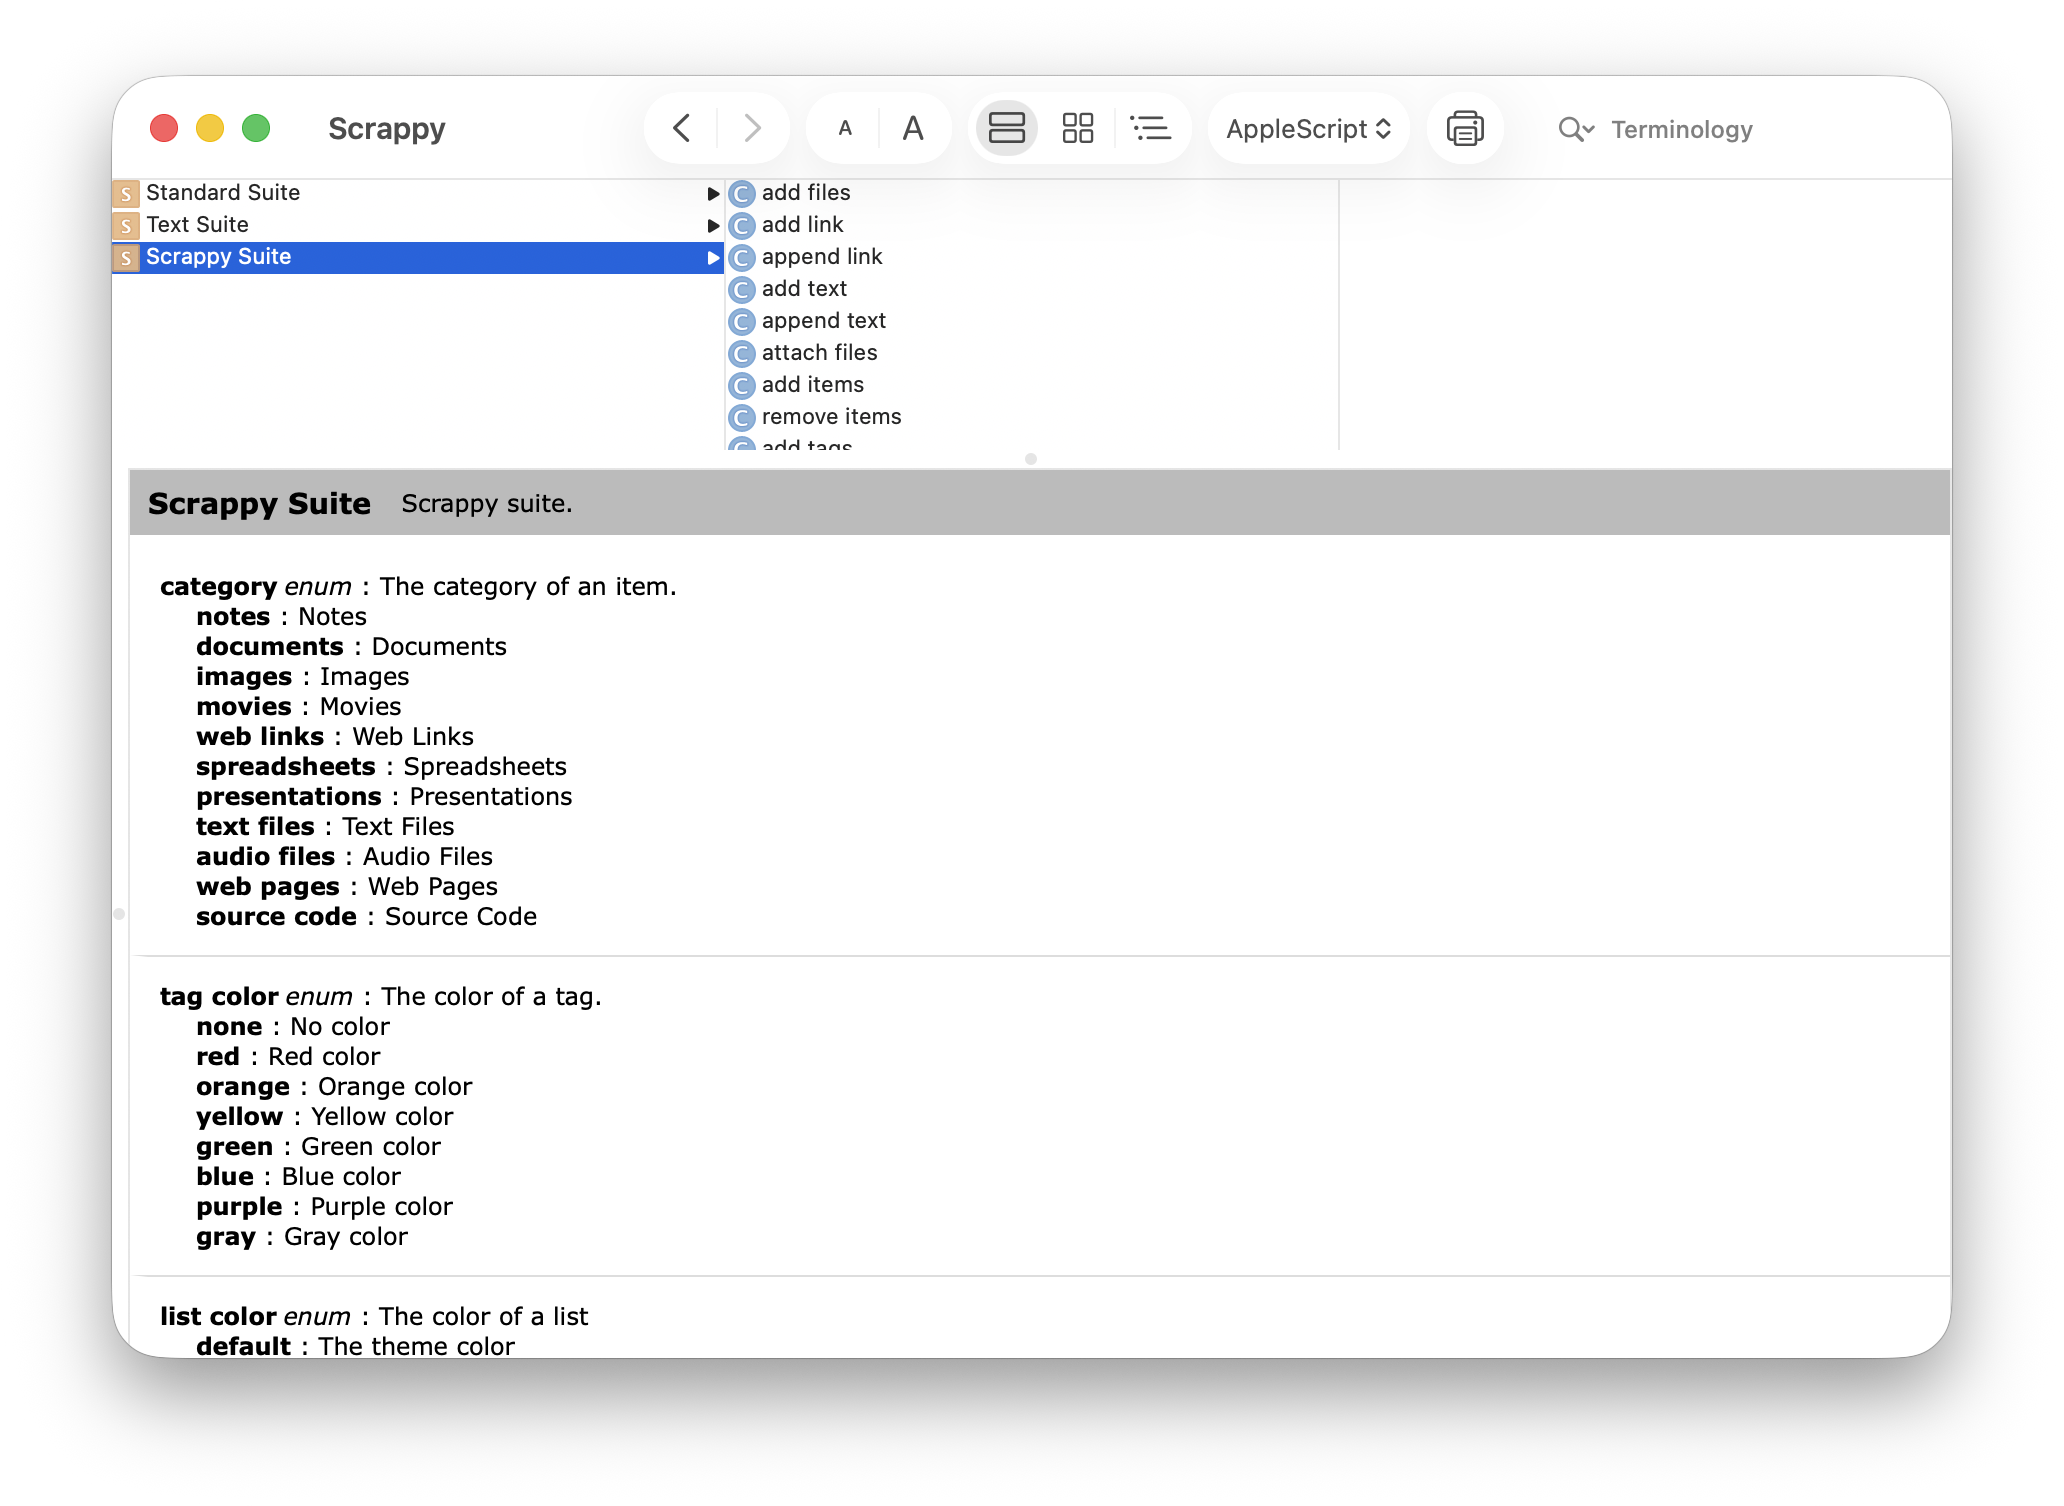
Open Scrappy’s dictionary in Script Editor and look at the Scrappy suite to see all its terminology.
Getting Objects
Scrappy provides convenient ways to get the currently selected list or items:
get selected sidebar item
get selected items
Or the current item either selected in the list or opened in the editor:
get current item
And the standard sidebar items:
get all items list
get recent items list
get favorite items list
get top level list
get deleted items list
And collections of items:
get every Scrappy list
get every category list
get every smart list
get every Scrappy item
get every tag
Almost none of those things are guaranteed to have a unique name, but if you know that a list or item has a unique name within its container, you can fetch it that way. For example, if you have a list at the top level called “Things”, and it has a child called “More Things”:
get Scrappy list "More Things" of Scrappy list "Things" of top level list
If you need to get a list or item and your script is only targeting your own library and not anyone else’s, then you can get the list or item by its identifier. When using identifiers it doesn’t matter where something is located, or what its name is. To get the identifier:
- In Scrappy, select the list or item
- Hold on Option and choose Edit > Copy Scrappy Identifier from the main menu
You can then use the identifier as follows:
get Scrappy list id "E770E3C5-5958-4FB5-BE75-59DCF075DC94"
get Scrappy item id "52F2513B-6EF1-4AA9-8E5C-6EBC65E36D79"
Tags always have a unique name in Scrappy, and so it is possible to do this:
get tag "tag name"
In most cases, Scrappy lets you use tags and tag names interchangeably.
Creating, Moving and Removing
It’s possible to create lists with the standard “make” command. A location must be specified, along with a name:
make new Scrappy list in top level folder with properties {name:"New List"}
And it’s possible to move list and items with the standard “move” command:
move theList to theOtherList
To delete lists or items, move them to Deleted Items first:
move theList to deleted items list
delete theList
Scrappy items can be in many lists, so there is a special command for that:
add items selected items to theList
And a corresponding command to remove them:
remove items selected items from theList
Tags cannot be created with a “make” command. Instead, you create tags by applying them to items. Tags are the only thing in Scrappy that can be uniquely identified by name, therefore Scrappy allows you to use the name of a tag for convenience in many places:
add tags {"tag 1", "tag 2", "tag 3"} to selected items
remove tags {"tag 1", "tag 2", "tag 3"} from selected items
Adding Files
Scrappy is a sandboxed app, which means you can’t pass it file paths as text such as this, because it won’t have permission to access the files:
❌ set theFile to "/Users/account/Desktop/Document.pdf"
Instead, you need to create a POSIX file path, like this:
✅ set theFile to POSIX file "/Users/account/Desktop/Document.pdf"
To get the path:
- In the Finder, select the file or folder
- Hold on the Option key, and choose Edit > Copy [filename] as Pathname from the main menu
Alternatively, you could specify an alias, using a colon-separated path like this:
✅ set theFile to alias "Macintosh HD:Users:account:Desktop:Document.pdf"
You will also be provided a suitable path when creating folder actions, using the “choose file” dialog, and when a file is dragged and dropped onto an AppleScript app, etc.
To add files using your default settings:
add files theFiles
Or include options to specify tags, how to add the files, where to store them, and whether or not to convert text files to notes:
set targetList to Scrappy list "Things" of top level folder
add files theFiles to targetList with tags {"tag 1", "tag 2", "tag 3"} without converting text files
Adding Links
To add a link using your default settings:
add link "https://reinventedsoftware.com/scrappy/"
Or include options that specify where to store the web link, its name, whether or not save it for offline and in which format, along with any tags to add:
add link "https://reinventedsoftware.com/scrappy/" to Scrappy list "Things" with tags {"tag 1", "tag 2", "tag3"} with include image, include article, include description and include original page
Adding Text and Attachments
To add a note with some text:
add text "The text to save"
Or add options to specify the format, destination for the new file, tags and name:
add text "The text to save" to Scrappy list "Things" using style body with tags {"tag 1", "tag 2", "tag 3"} with name "Note Added by Script"
To append text to a specific item:
append text "The quick brown fox" to note theItem
And to add an attachment:
attach files theFiles to note theItem
Exporting
Scrappy can either export an individual Scrappy item or list. The item or list’s filename will be made unique in the destination. See Adding Files above for important information about how to specify files when working with Scrappy. Notes will be exported as rich text files, either with or without attachments. Locked notes will be skipped.
To export an individual Scrappy item to a folder chosen by the user:
set destinationFolder to choose folder
export theItem to destinationFolder
Exporting a list is the same:
export theList to destinationFolder
When exporting "All Items", the top level list will actually be exported, and so the hierarchy will be preserved. Use this to export the entire library.
When exporting a list, the export operation will return the moment the export is started, but the export will continue in the background.